Using a tarp for wild camping can significantly enhance your outdoor experience by providing shelter, protection, and versatility. Whether you’re a seasoned camper or a beginner, this guide will walk you through the essential steps to effectively use a tarp on your next camp.
What is a tarp?
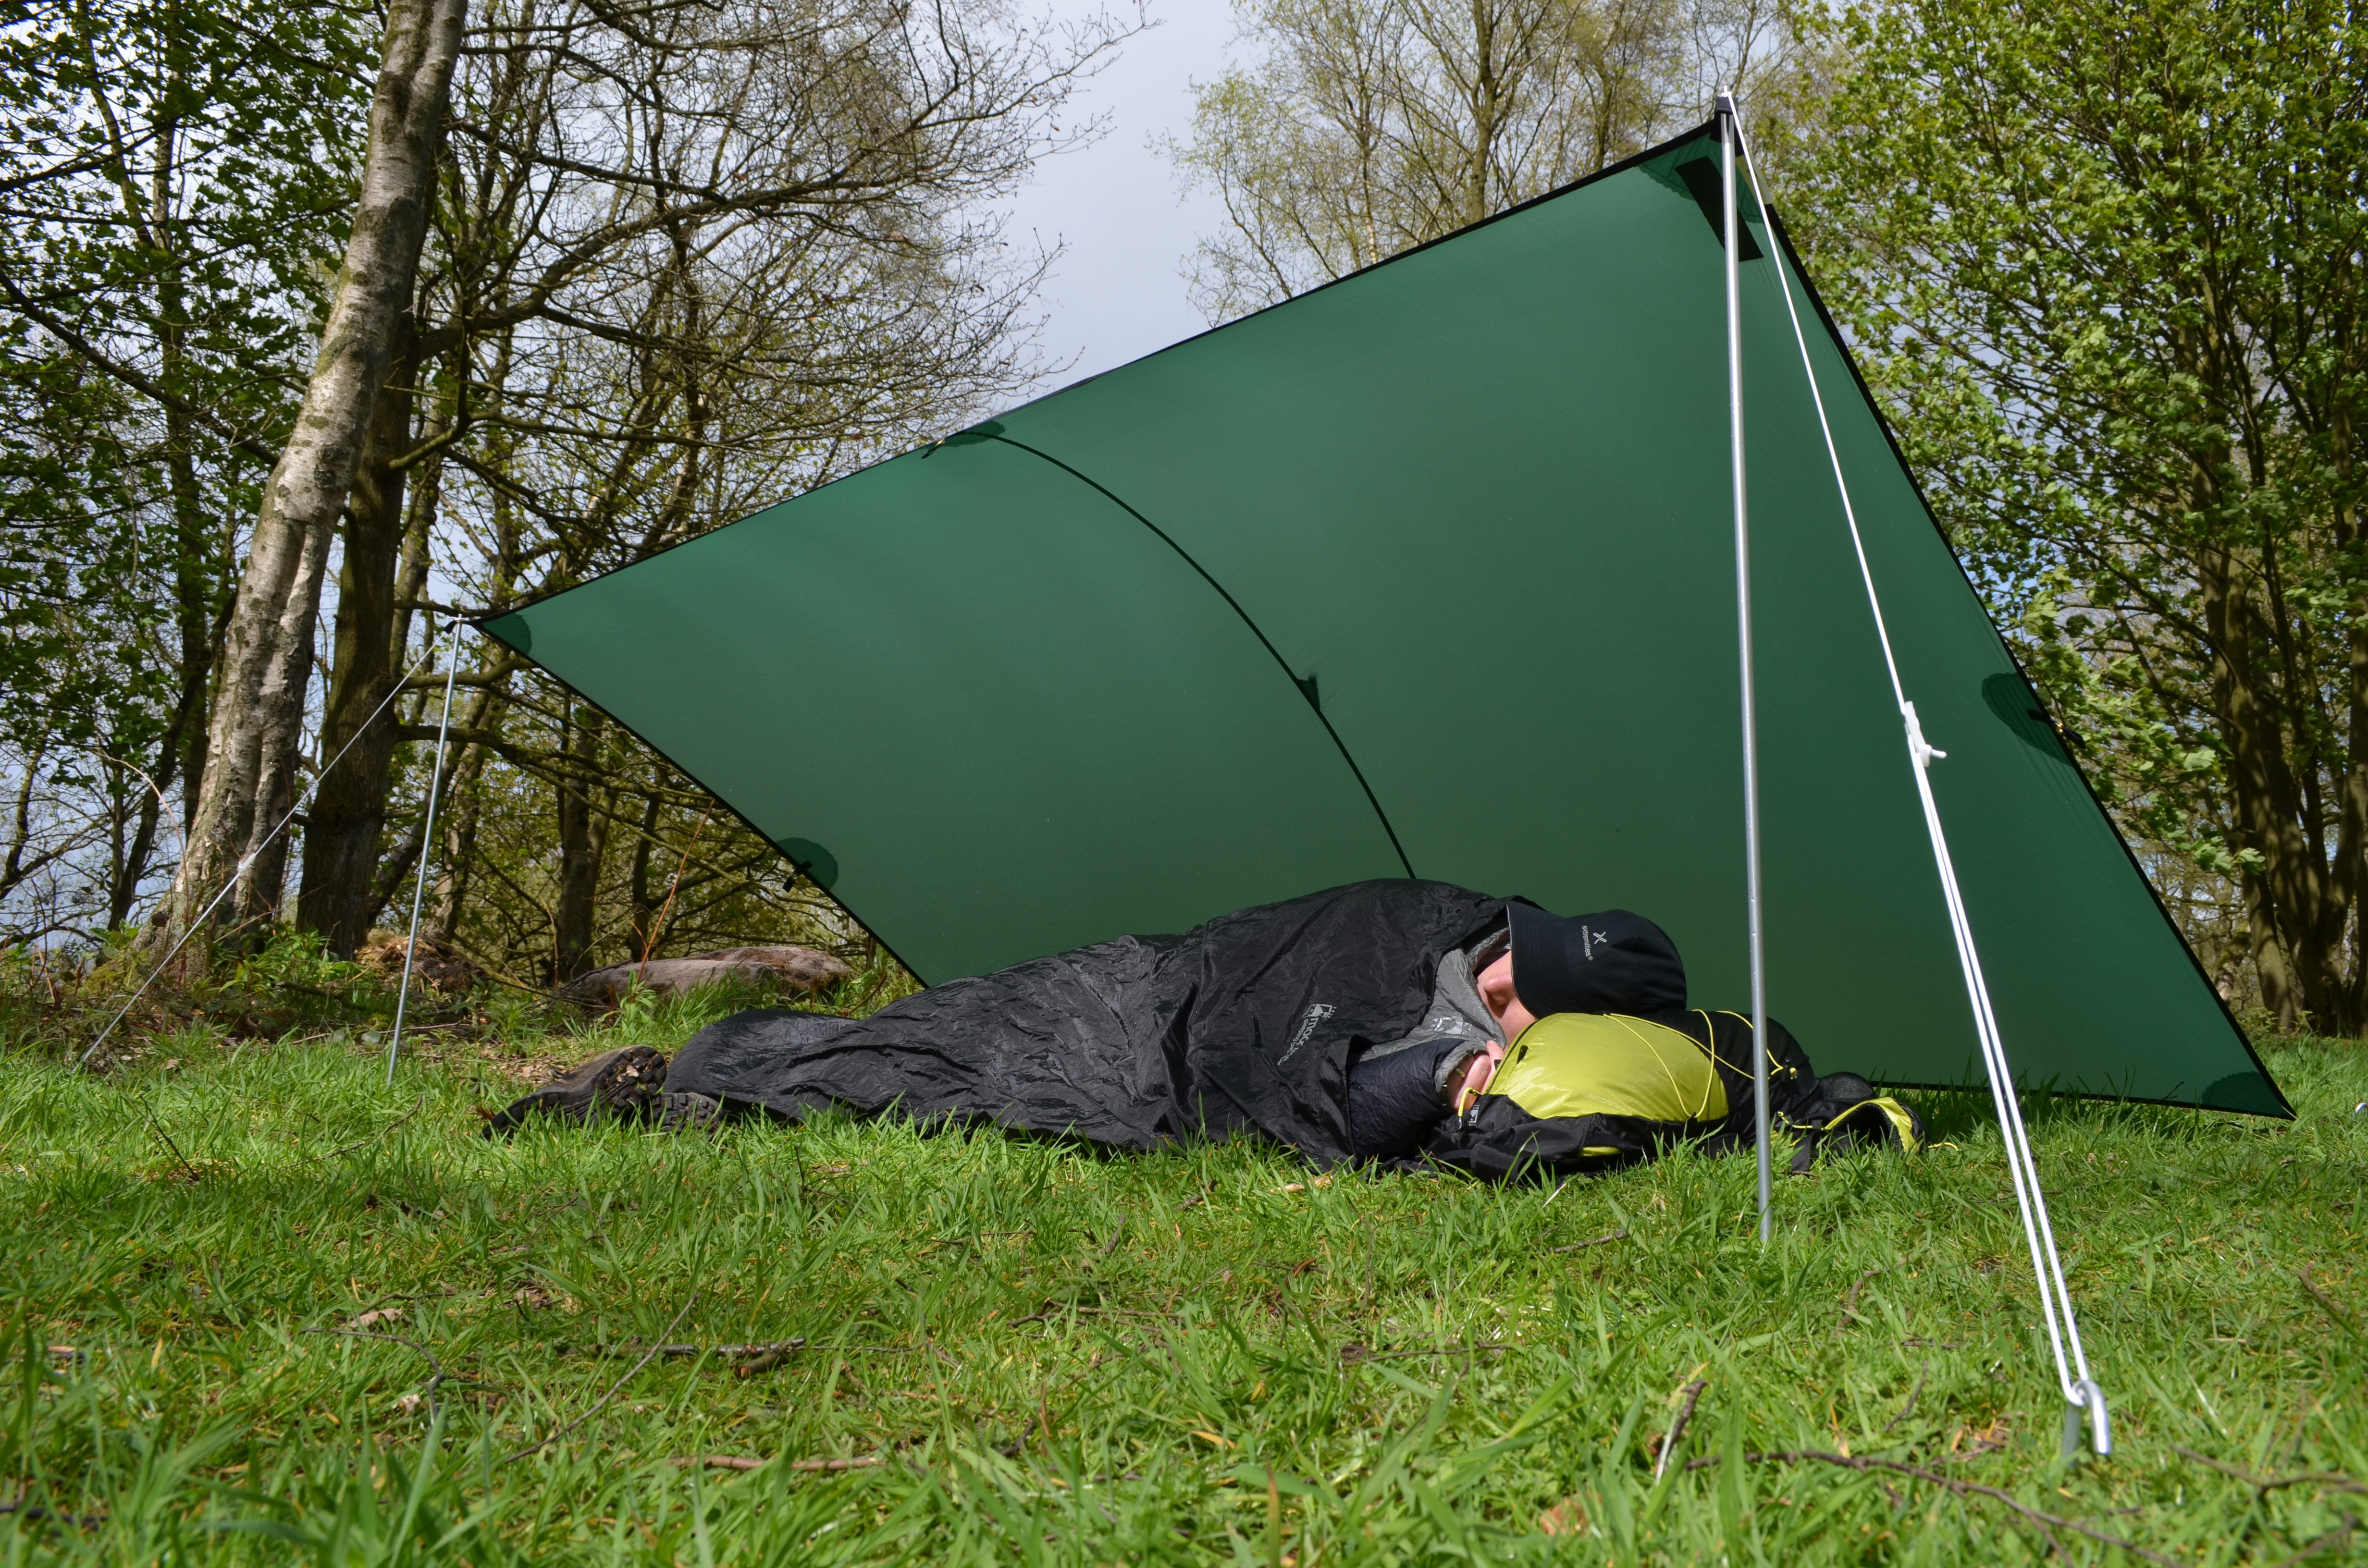
A tarp is a waterproof sheet of fabric used to create custom shelters. It can be configured in different shapes using pegs, guylines, poles or trees. The setup can easily be adjusted according to weather conditions, such as setting up the tarp higher up for views, or lower down for stability in storms.
You might think choosing a tarp over a tent means more exposure to wind and rain, but with practice, you can pitch it to protect yourself in most spring/summer camping conditions in the UK. Options range from simple “A-frame” and “lean-to” setups to more complex tipi or C-fly wedge configurations.
What you’ll need
Tarp camping can be as simple or as complex as you like. You can go down the basic route and take the bare minimum or go all out with luxuries to make your adventure more comfortable.
How to set up a Tarp
Step 1: Choosing the Right Tarp
Selecting the appropriate tarp is crucial for a successful camping trip. Consider the following factors:
- Size: Choose a tarp that offers ample coverage for your needs. A 2.4m x 3m tarp is generally a good starting point.
- Material: Look for a durable, waterproof material such as nylon or polyester to ensure adequate protection against the elements – aim for 3,000mm+ for rainy adventures.
- Eyelets: Check if the tarp has reinforced eyelets along the edges for secure attachment points.

Step 2: Setting up Your Tarp
Once you have your tarp, follow these steps to set it up effectively:
- Choose a suitable location: Look for a flat area with no sharp rocks or branches overhead that could damage your tarp. Pay special attention to dead trees near you as they could fall or drop branches on you during the night.
- Clear the area: Remove any rocks, sticks, or sharp objects that could puncture or tear your tarp.
- Determine the orientation: Decide how you want to position your tarp. Consider wind direction, sun exposure, and the type of shelter you desire.
- Anchoring the corners: Use sturdy ropes or paracords to tie each corner of the tarp to trees, rocks, or trekking poles. Ensure the knots are secure and won’t slip.
- Adjust for tension: Adjust the height and tension of your tarp to ensure proper water runoff and prevent flapping in the wind. Experiment with different angles and configurations to find the most suitable setup.
Step 3: Shelter Configurations
There are various shelter configurations you can create using a tarp. Here are the three most common setups to get you started:
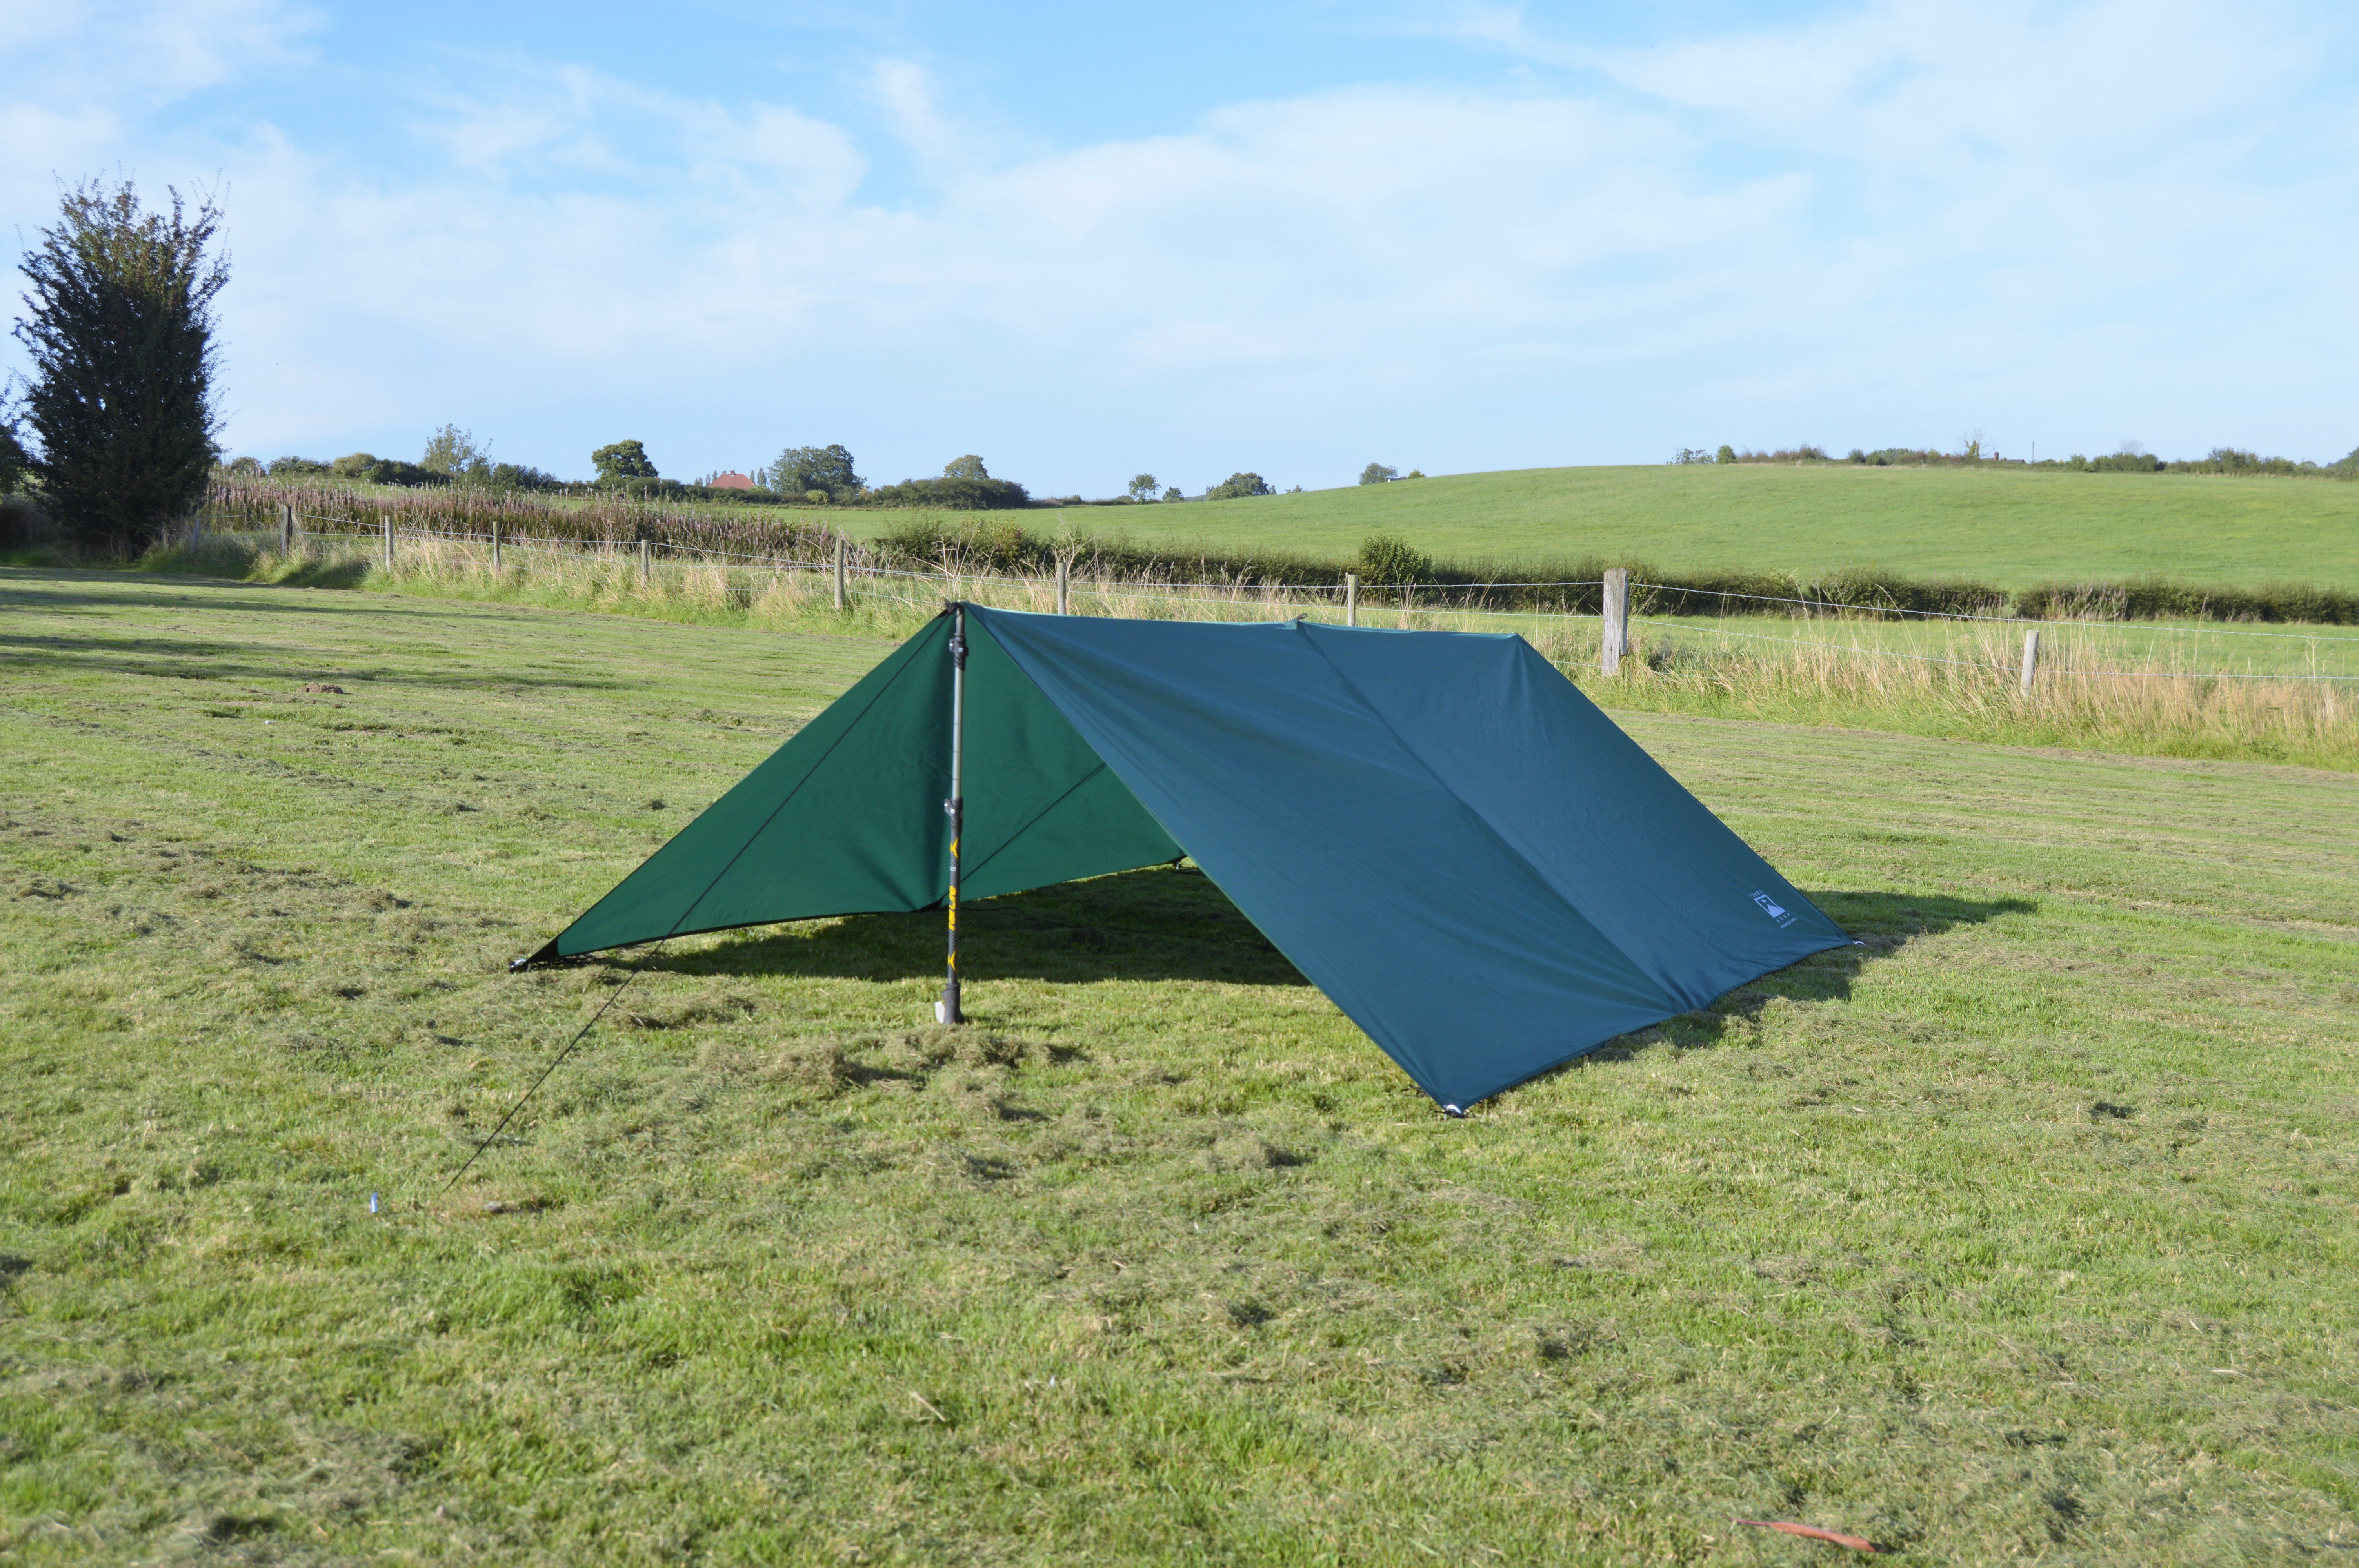
- A-frame: This is the simplest and most common configuration. Attach one edge of the tarp to a tree or pole, then extend the other end and secure it with ropes or pegs to create an “A” shape.

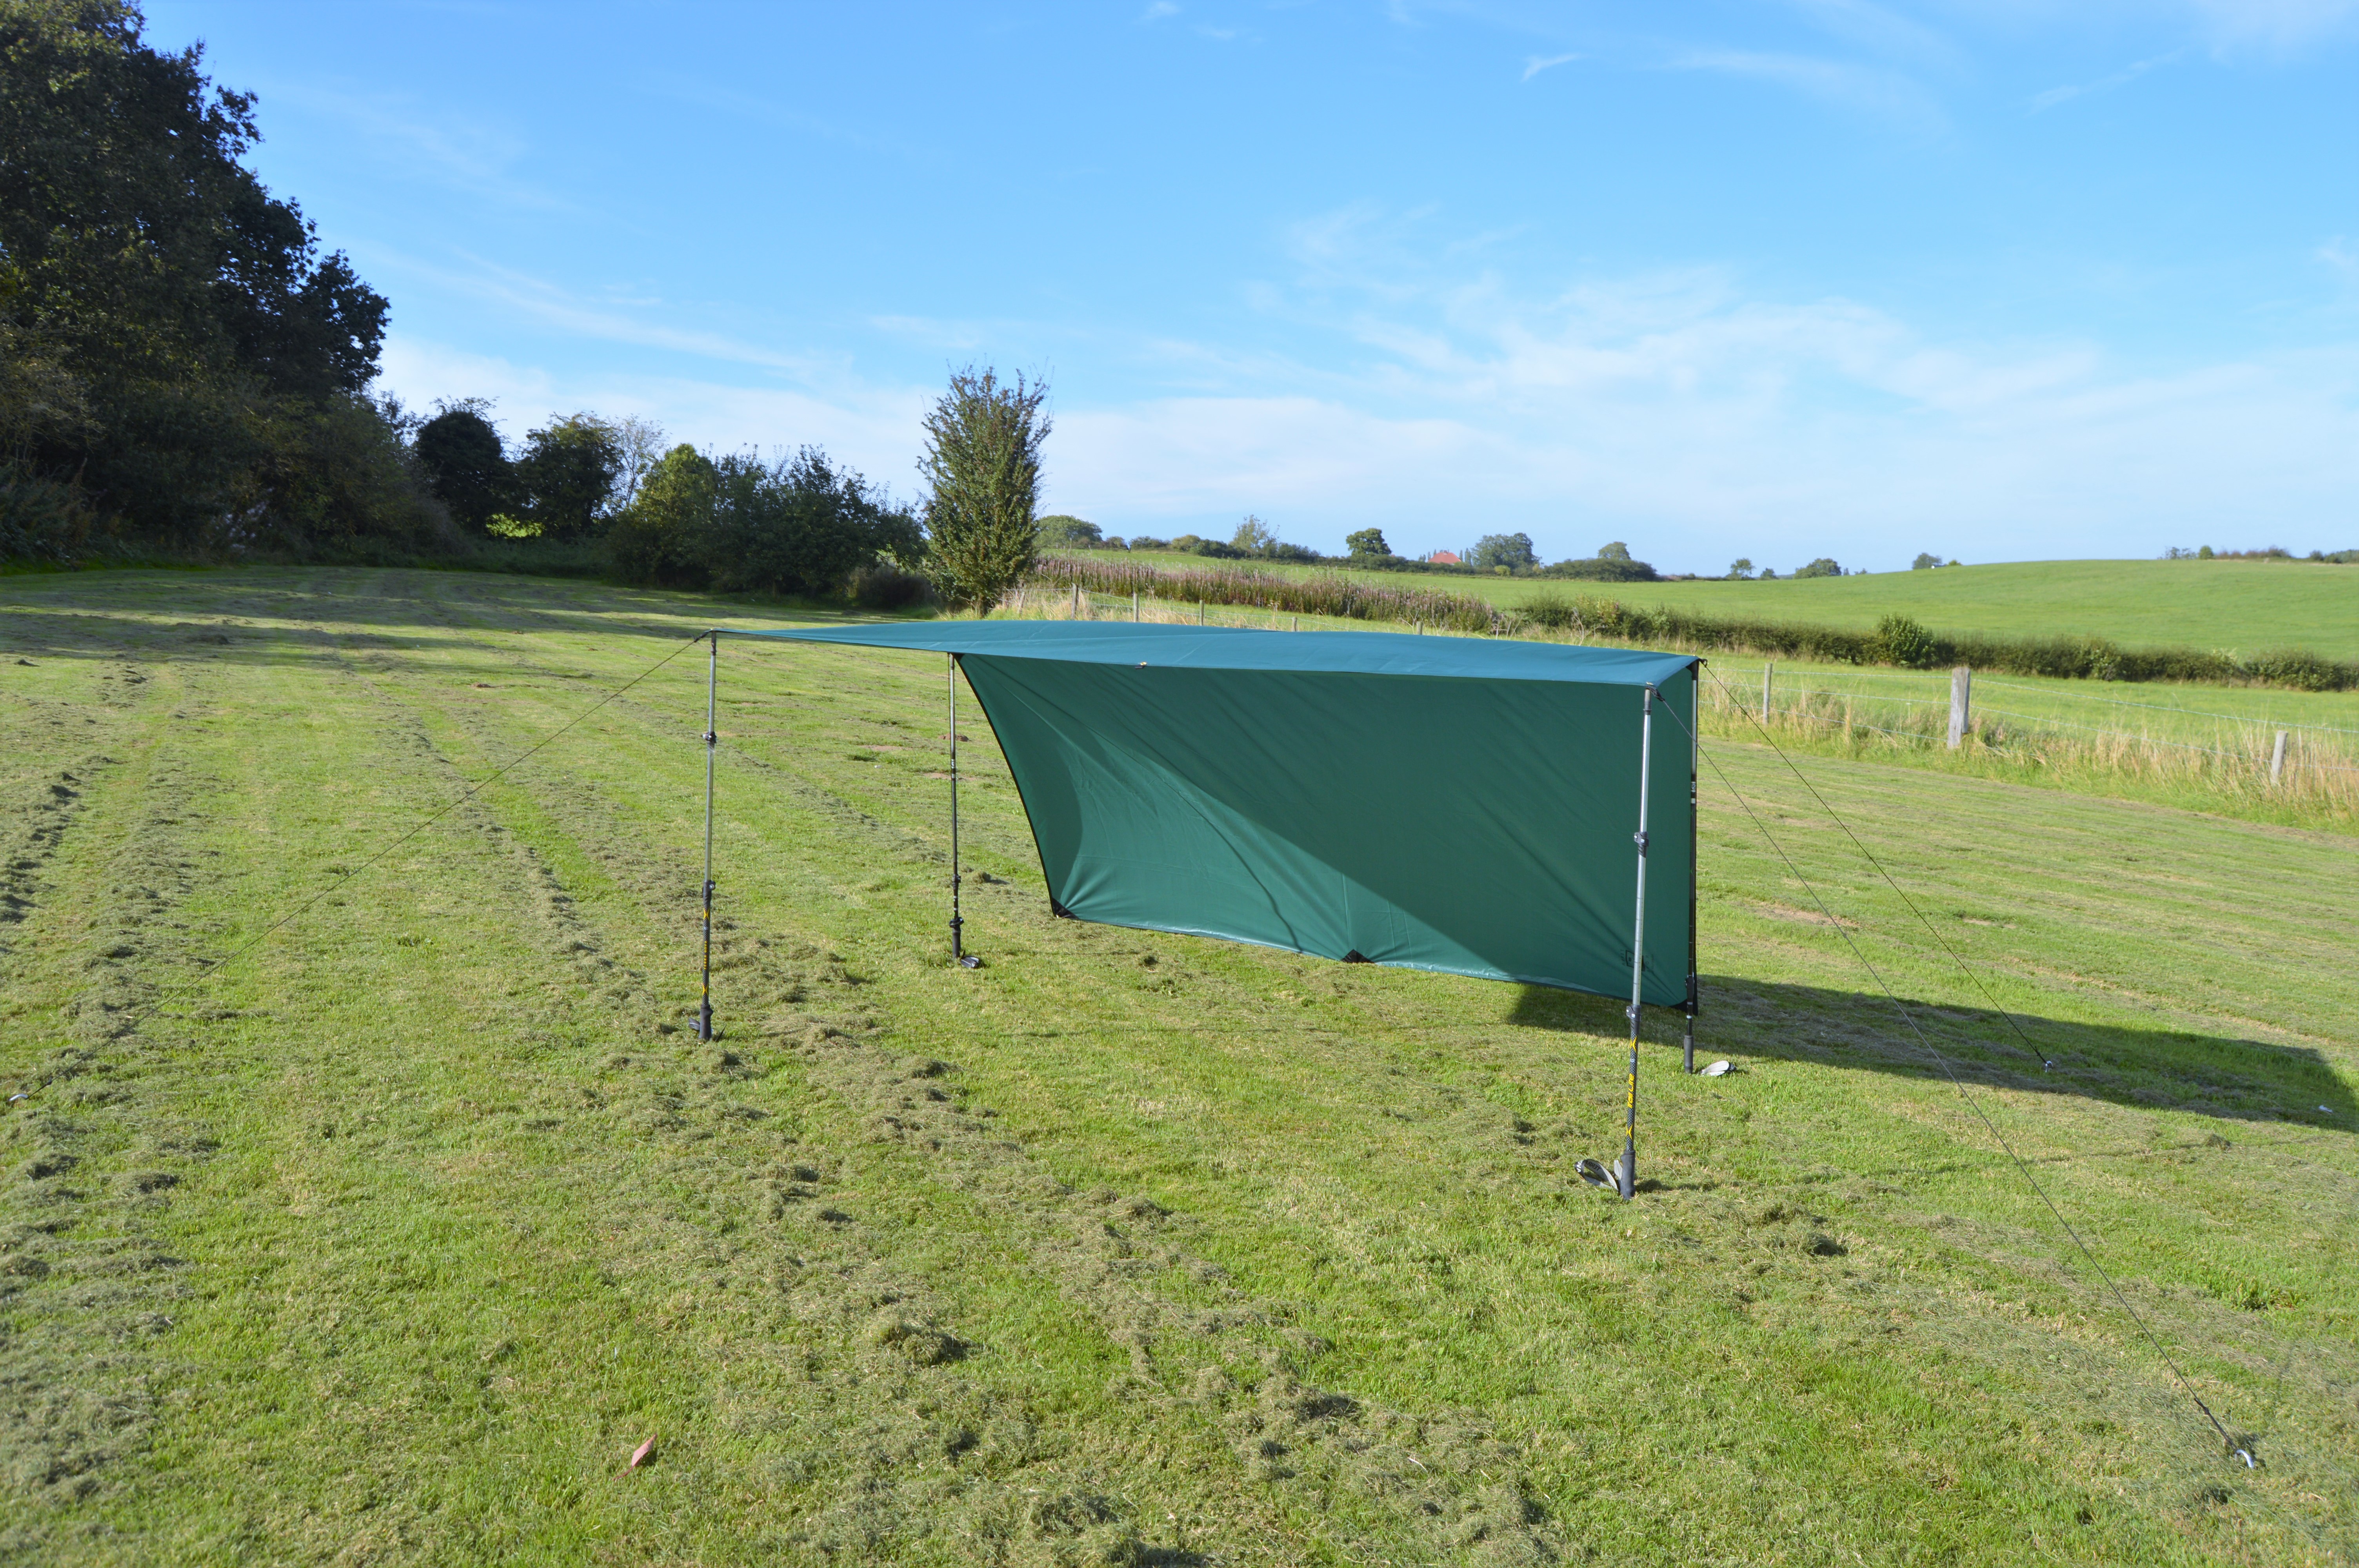
- Lean-to: Ideal for protection against wind or rain, the lean-to involves securing one edge of the tarp to a tree or pole at a higher height and pegging out the opposite side at a lower angle.

- Flying diamond: This configuration offers great coverage and versatility. Attach one corner of the tarp to a tree or pole, then stake out the opposite diagonal corner. Adjust the height and tension to create a diamond shape.
Step 4: Additional Tips
- Always inspect your tarp for damage before each trip and carry a repair kit with adhesive patches or tape.
- Utilise guy lines or additional ropes to increase stability and prevent flapping in windy conditions.
- Consider adding a groundsheet or a bivi bag beneath your tarp to enhance insulation and protect against moisture.
- Familiarise yourself with local regulations and guidelines regarding camping and tarp usage in the specific area you plan to visit so you aren’t confronted by an angry landowner at night.
Using a tarp for wild camping opens a world of possibilities for creating effective and lightweight shelters. You can maximise comfort and protection during your outdoor adventures by selecting the right tarp, mastering essential setup techniques, and exploring different configurations. Remember to practise setting up your tarp before embarking on your trip to ensure a seamless camping experience.
Now that you have an idea of how to camp using a tarp, it’s time to buy or upgrade your tarp. Check out our range of tarps to start your tarp camping journey!


