Providing a level of thermal protection without the bulk
Engineered to be breathable whilst still offering a level of thermal protection.
The single layer, heat-retentive design allows for greater dexterity - making thermal items adaptable across multiple winter sports and outdoor activities.
Packable
High performance whilst being compact and stowable
Products designed to compress down and stow away when you don't need them, and deploy at a moments notice for when you do.
Using packable items reduces the need for a large pack, keeping you lighter on the trail and helping with marginal gains.
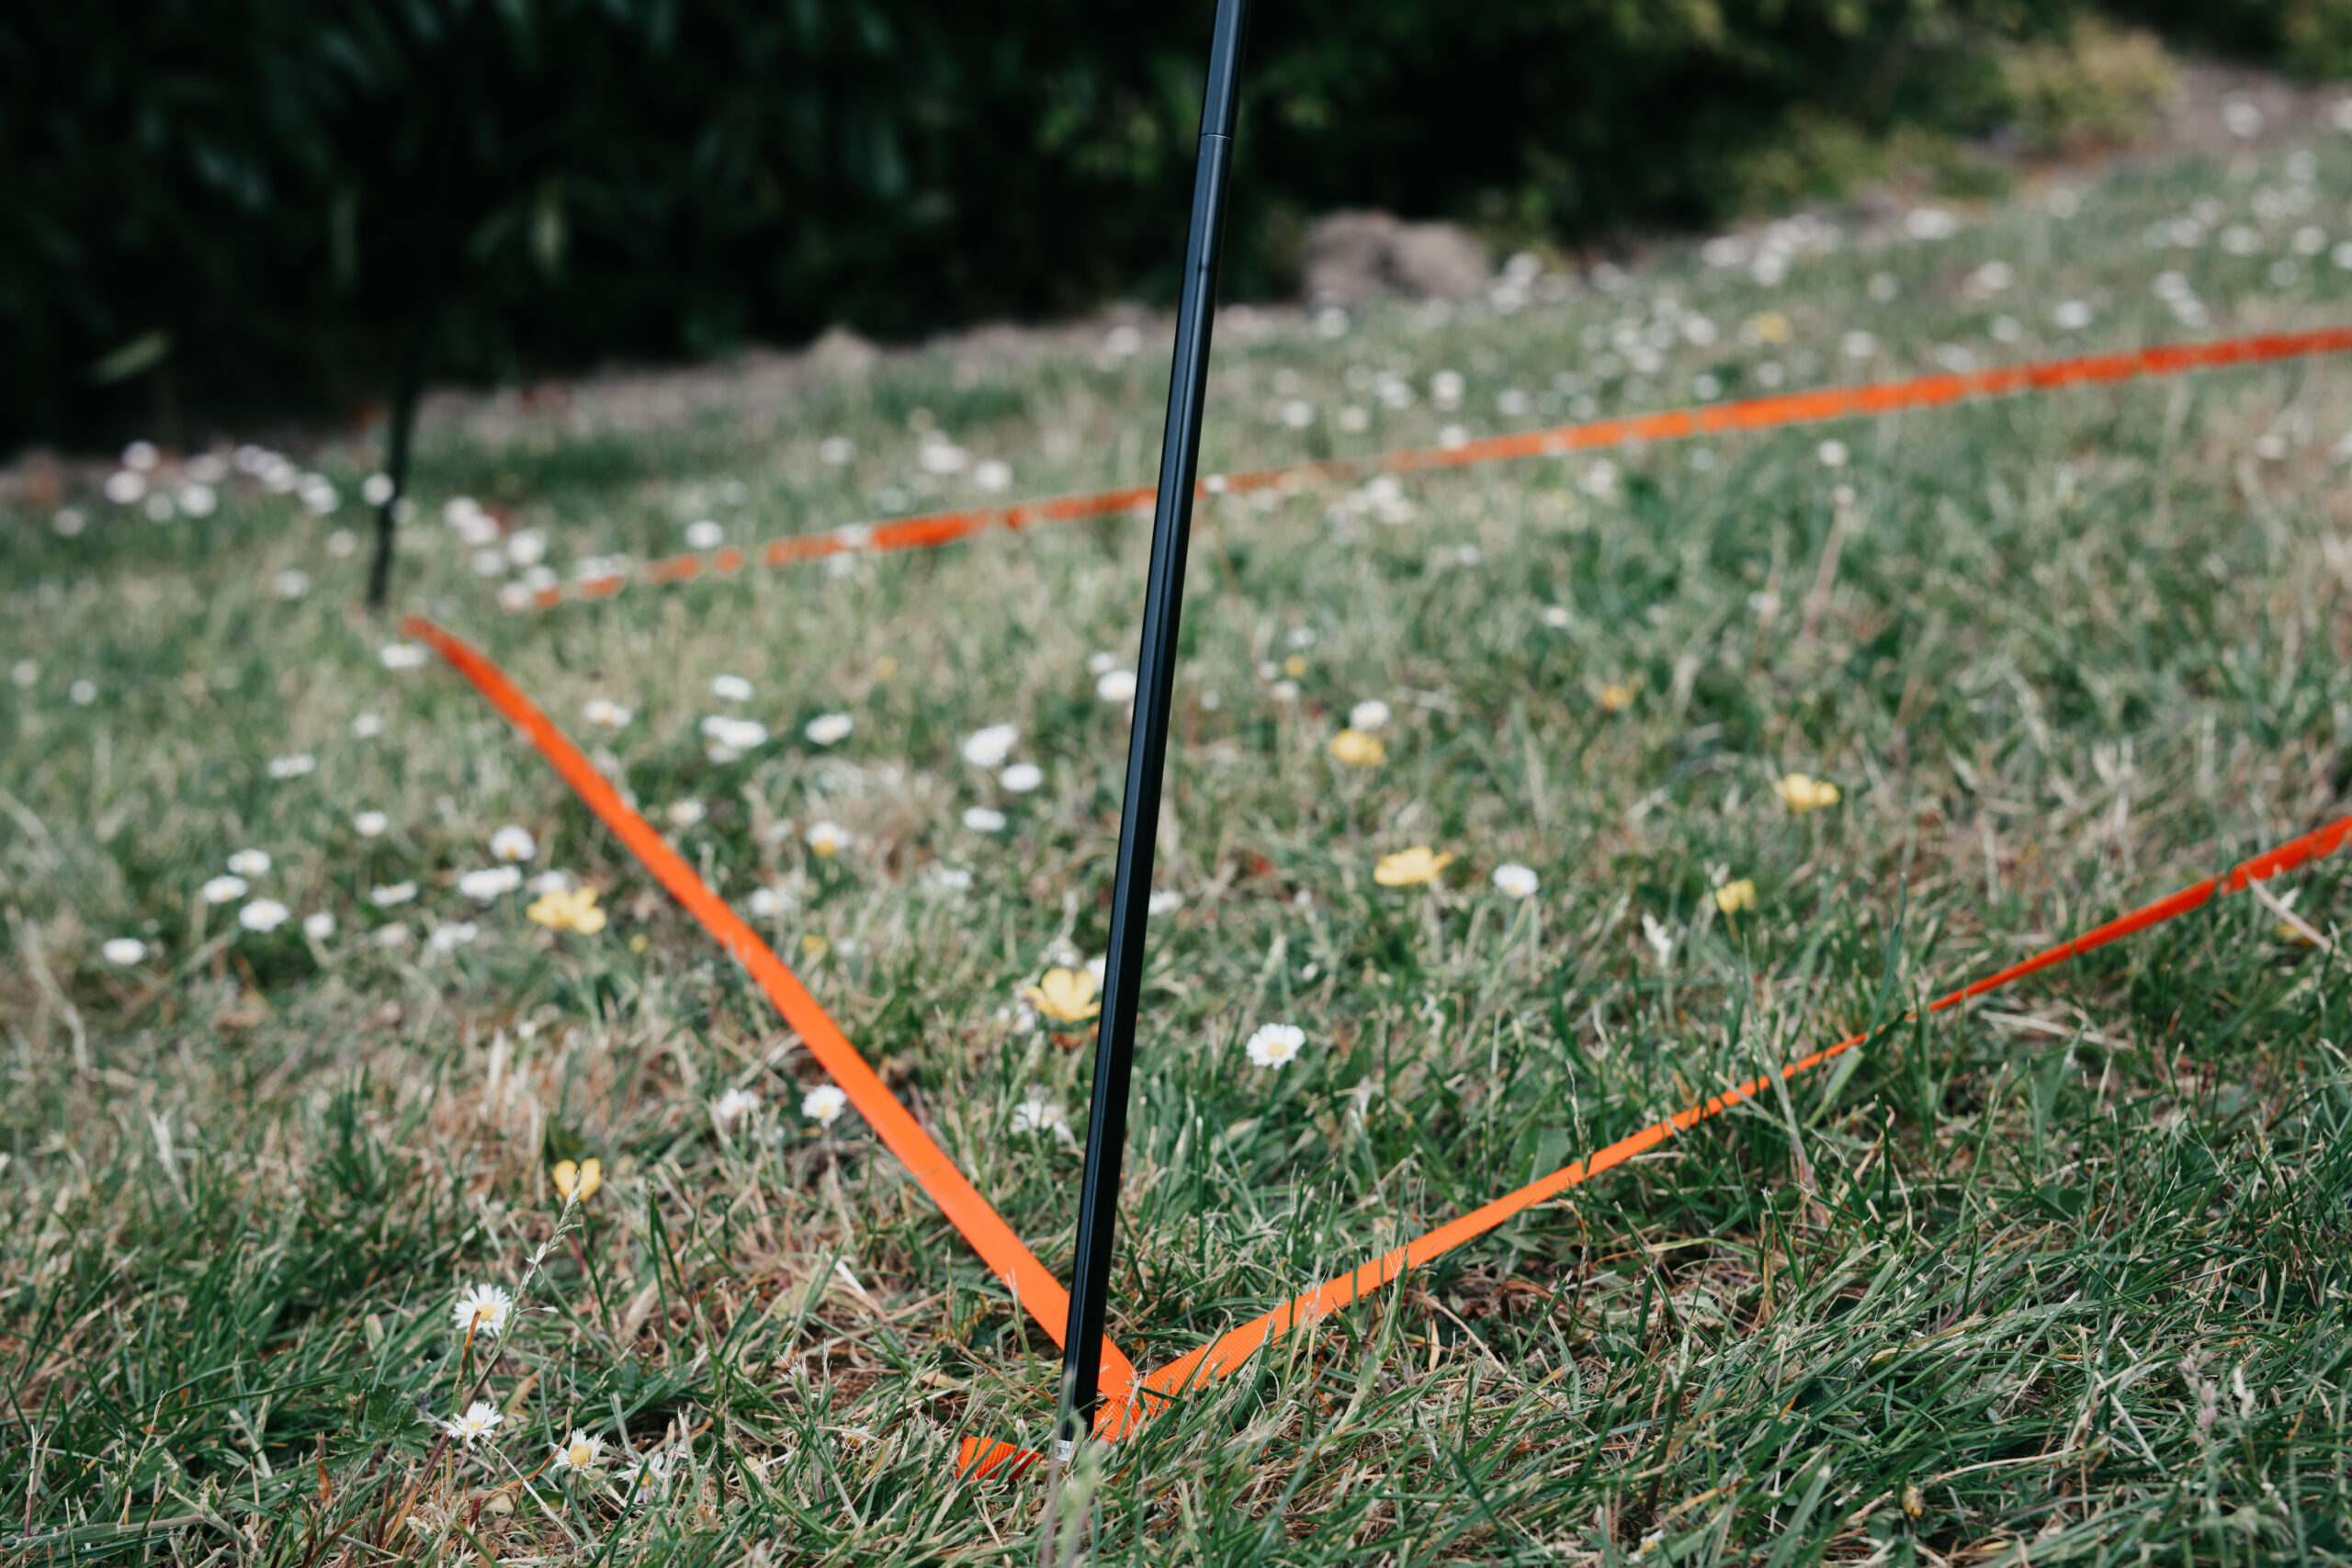
PitchLite
The lightest way to pitch a tent
Products with this icon are compatible with the PitchLite system, enabling flysheet‑only pitching for fast, lightweight shelter deployment.
Lighter pack weight
Smaller carry size
Maximised flysheet space
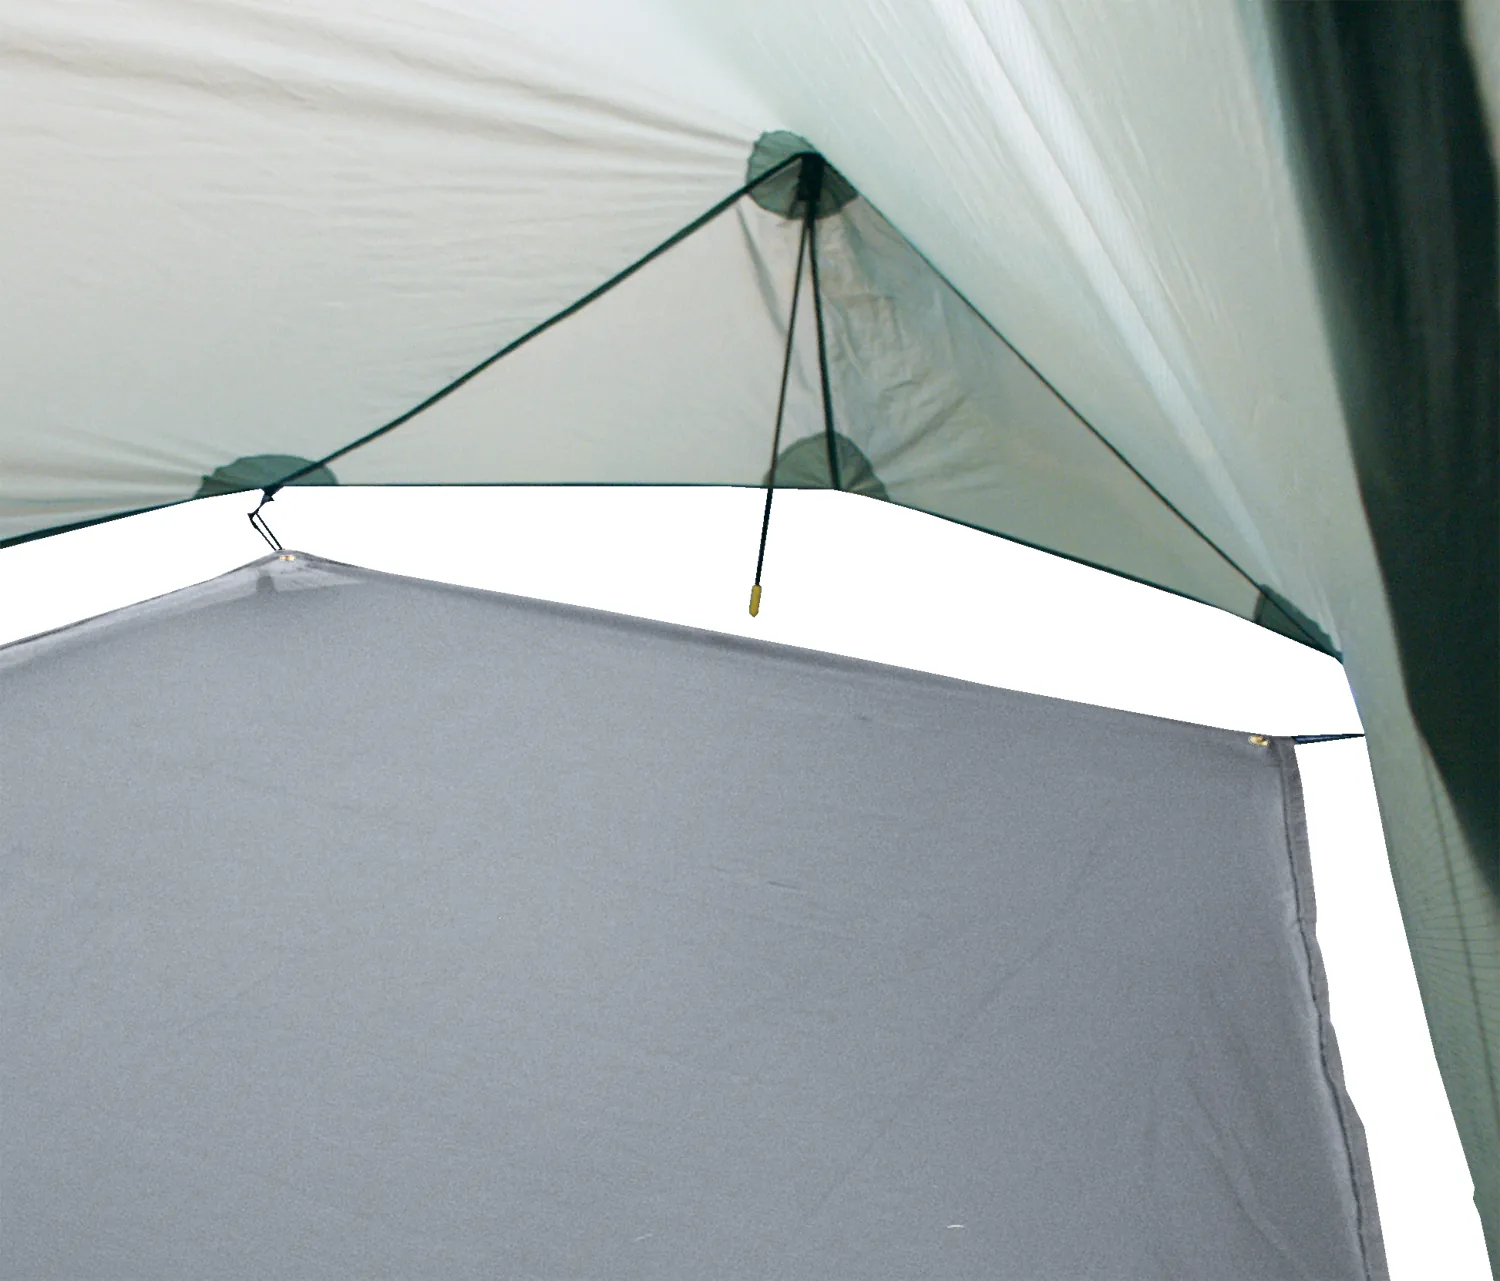
FlexiPorch
Variable configurations for better living solutions
Features an adjustable toggle system that allows you to tailor the porch size to suit alternating situations and storage needs.
Customisable living space
Stablises groundsheet walls
Maximise storage or living space
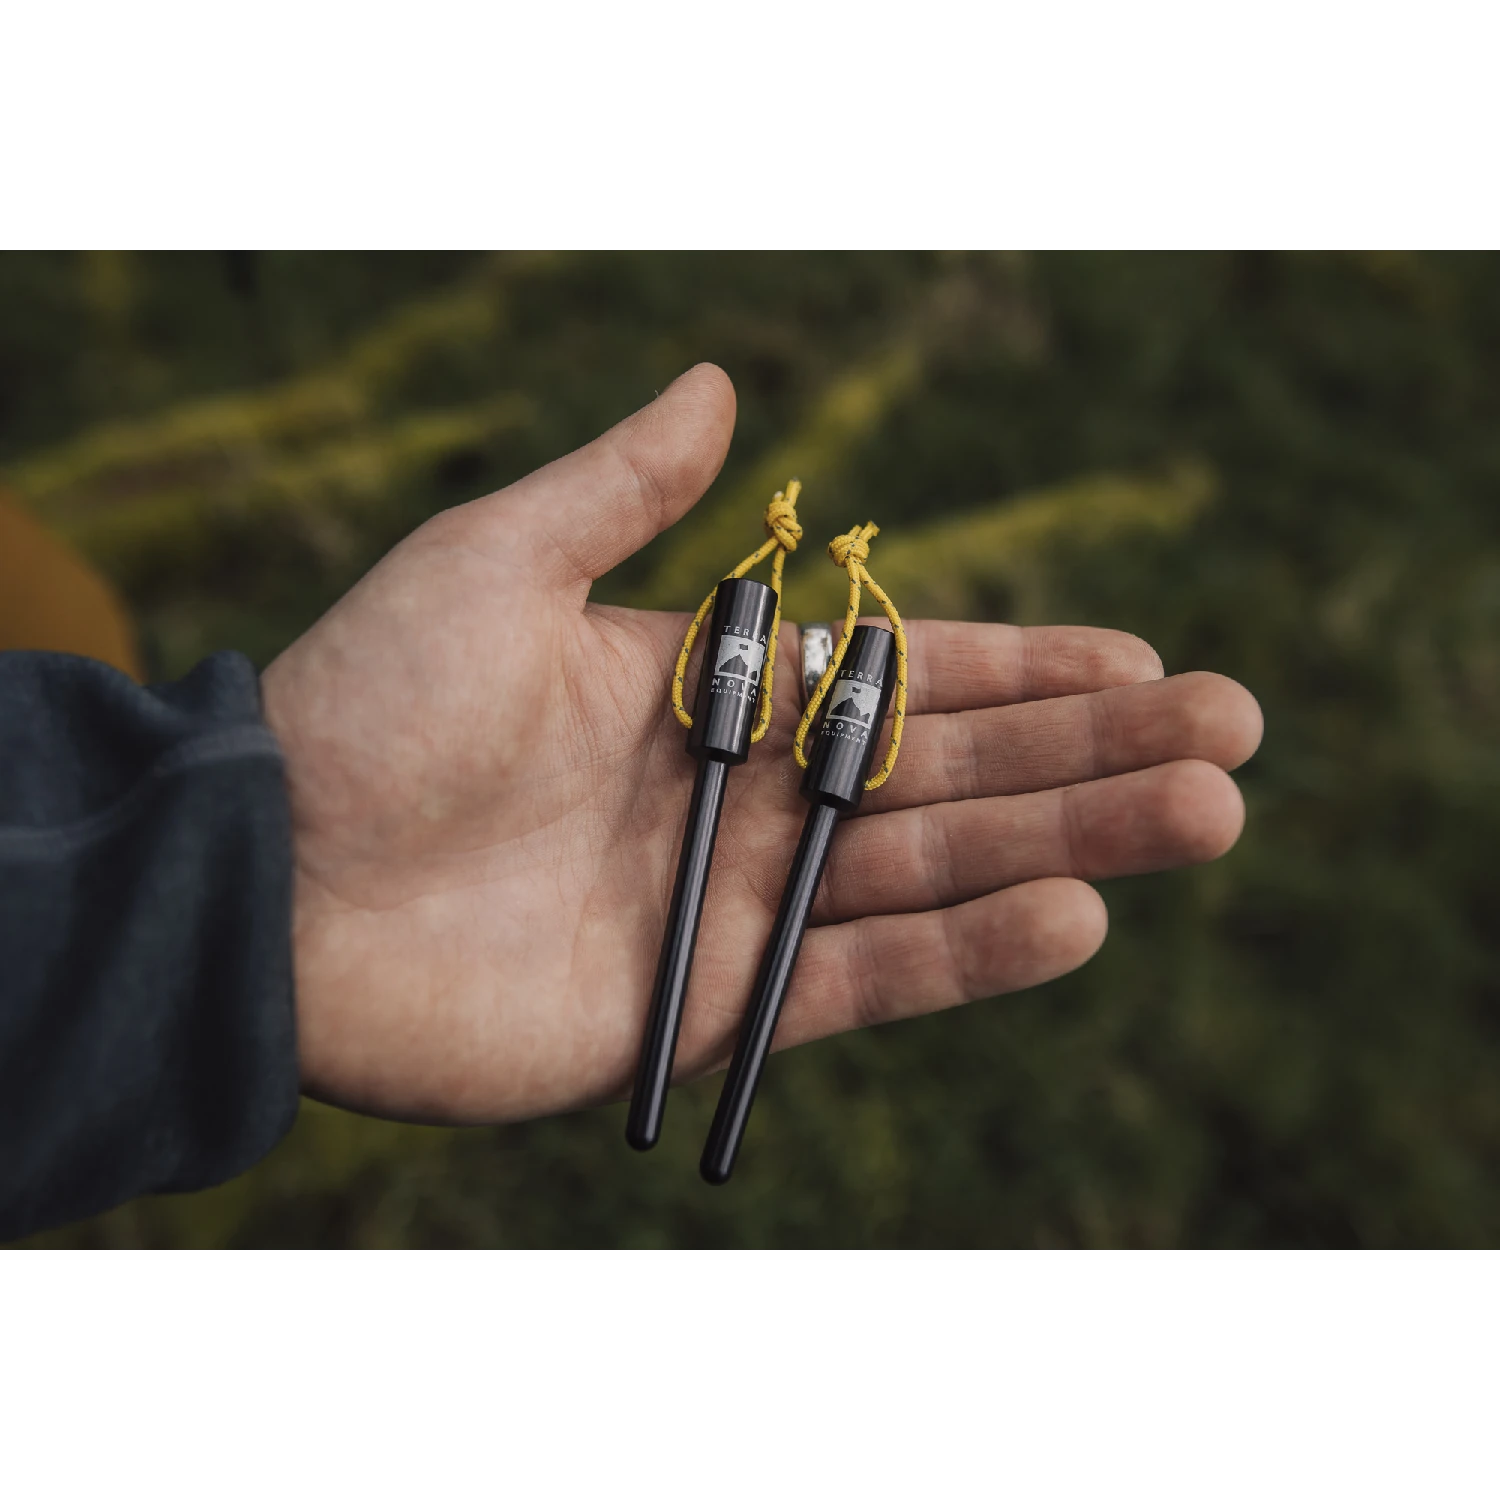
PoleLock
Add more stability in high wind environments
Products with this icon can be used with our PoleLock accessory, designed to add structural support to flysheet‑first pitching tunnels and non‑freestanding tents. Suitable for poles up to 9mm in diameter.
Additional Stability
Easier Pitching
Better Wind Protection
X-Dry Stretch
Waterproof, breathable, flexible
4‑way stretch waterproof fabric offering complete weather protection with enhanced flexibility, comfort, and freedom of movement
Engineered for the Elements
Waterproof & breathable membrane
Allows for greater dexterity
Retains warmth in cold, wet weather
From heavy downpours to freezing winds, X-Dry stretch ensures you stay perfectly dry and comfortably warm from the inside out
Join The Club
And get 10% off your first order.
From Everest to your local trail, we design for the extremes. Sign up for our newsletter to receive the latest from Terra Nova, Wild Country, and Extremities.
DAC Green Anodized Poles
Eco-conscious engineering from the world leader in tent pole technology.
We exclusively feature DAC Green Anodized poles in our premium tent range to deliver world-class strength and weight savings with a radically reduced environmental footprint.
Material: Exclusive TH72M aluminum alloy, providing the highest strength-to-weight ratio in the industry.
Green Technology: The Anodising process completely eliminates nitric and phosphoric acids, utilizing a closed-loop water recycling system to protect both the environment and the craftspeople who build them.
Ultralight Design: Precision swaged at both ends to shed every unnecessary gram without compromising structural integrity.
The gold standard for performance and a sustainable future.
Ultra-lightweight flexibility. Trim weight. Go further.
Designed by our product specialists to offer ultimate versatility for fast-paced adventures, the FastPack system allows you to dramatically reduce your rucksack’s weight and bulk. By using a dedicated footprint in place of an inner tent, you transform your shelter into a high-performance, minimalist waterproof bivi-style setup.
Modular Weight Saving: Leave the inner tent at home when conditions permit to shave significant grams and volume from your pack.
Weatherproof Protection: The system utilises a footprint that covers the entire area under the flysheet, including the porch, providing a clean, dry sleeping area.
Structural Integrity: The footprint is precision-engineered to provide the essential tension and anchor points required for the poles, ensuring the tent remains stable and secure.
Read the Superlite Voyager tent pitching instructions below:
Lay out the inner tent.
Carefully assemble each of the 3 poles. Ensure all the joints are fully inserted.
Using the diagram below, lay the poles over the inner tent as follows:
– Pole 1 (blue) diagonally between A and B, making sure the pre-curved section is at the back of the tent.
– Pole 2 (blue) diagonally between C and D, making sure the pre-curved section is at the back of the tent.
– Pole 3 (red) between E and F.
Insert a pole-end into the outermost eyelet of each inner tent eyelet tape. The tapes are colour-coded to match the relevant pole.
Clip the inner tent to the poles.
Throw the flysheet over the inner tent.
Hook flysheet eyelet tabs to pole end-tips.
Insert each pole-end into the corresponding eyelet tape on the hem of the flysheet. The eyelet tapes are colour-coded to match the relevant pole.
Peg out the tent.
Remember to adjust the flysheet tension as conditions alter (the flysheet will tighten in strong sunlight and slacken if it gets wet).
The Superlite Voyager is supplied with the following: